Do you know how to add a user in IBM Planning Analytics Workspace (PAW)? The steps are detailed below.
As an Administrator, navigate to the Administration Users and Groups page. You can get there from the home page as follows:
Click the Administration tile and then click on the Users & Groups tile as shown below.

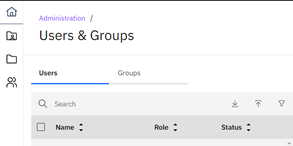
You will now see the following:

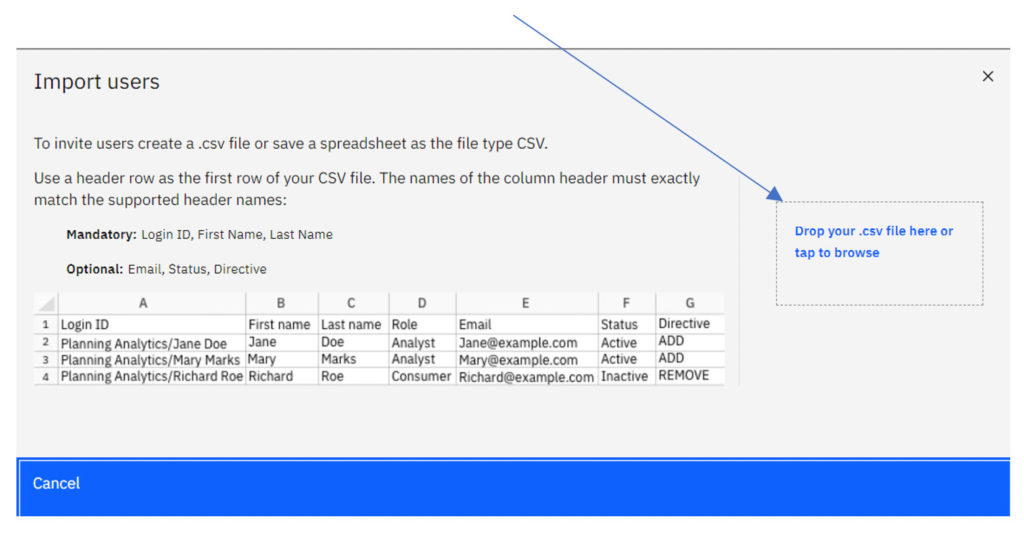
The next step is to create a comma-separated value (CSV) file that contains the following column headings.

The Login Id, First Name and Last Name information is required. Role, Email, and Status are optional fields. If you leave Role and Email blank, the Role will default to Analyst and the Email will default to the Login Id. Below is an example of what the file may look like when ready.

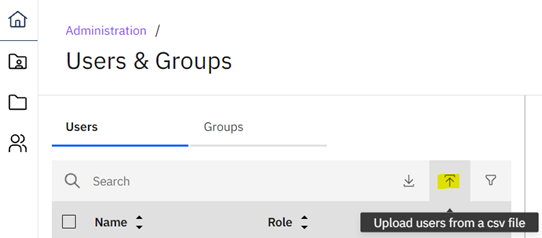
In your browser go back to the Administration Users and Groups page in Planning Analytics Workspace. Click on the arrow to Upload users from a csv file.

A new screen will pop up, it will look as follows. You can simply drag and drop your csv file into the area that says “Drop your .csv file here or tap to browse.”

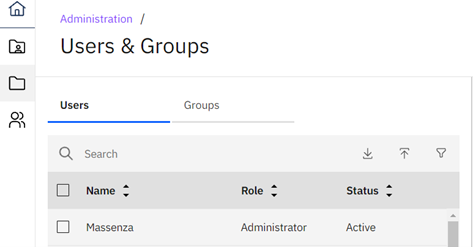
The upload will then take place and your user — or users — depending on how many users you placed in the csv file, will be added into Planning Analytics Workspace.

I hope I have taken some of the mystery out of adding users to Planning Analytics Workspace for you.
Stay on the lookout for future blogs from me, until then, be safe, be well, be productive!
IBM Planning Analytics, which TM1 is the engine for, is full of new features and functionality. Not sure where to start? Our team here at Revelwood can help. Contact us for more information at info@revelwood.com. And stay tuned for more Planning Analytics Tips & Tricks weekly in our Knowledge Center and in upcoming newsletters!
Read more IBM Planning Analytics Tips & Tricks:
IBM Planning Analytics Tips & Tricks: Change Element Type in PAW
IBM Planning Analytics Tips & Tricks: PAW Tab Colors
IBM Planning Analytics Tips & Tricks: Planning Analytics Workspace Tab Icons

