This is a guest post from Revelwood’s Shane Bethea.
Did you know that you can quickly and easily create a new time dimension in the Planning Analytics Workspace (PAW) Dimension editor? The following steps will automatically create a time dimension with a standard hierarchy and pre-populated set of attributes in a matter of seconds.
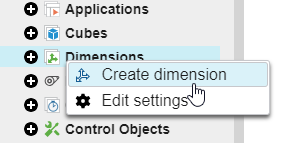
To create your time dimension using the PAW Dimension editor, simply right click Dimensions in the left hand navigation tree and select Create dimension.
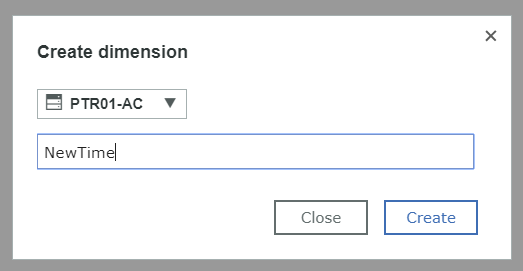
Enter a name for your new time dimension and then click Create.
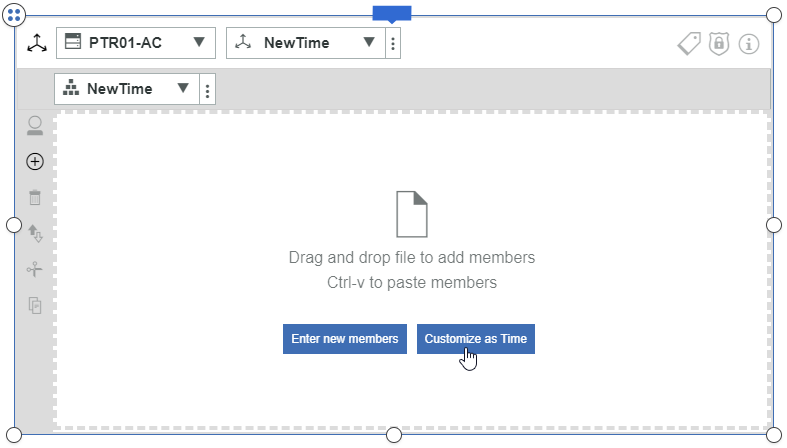
Select the ‘Customize as Time’ button to open the time interface.
Select the start year, end year, and element granularity (Year, Quarter, or Month) and then click Create.
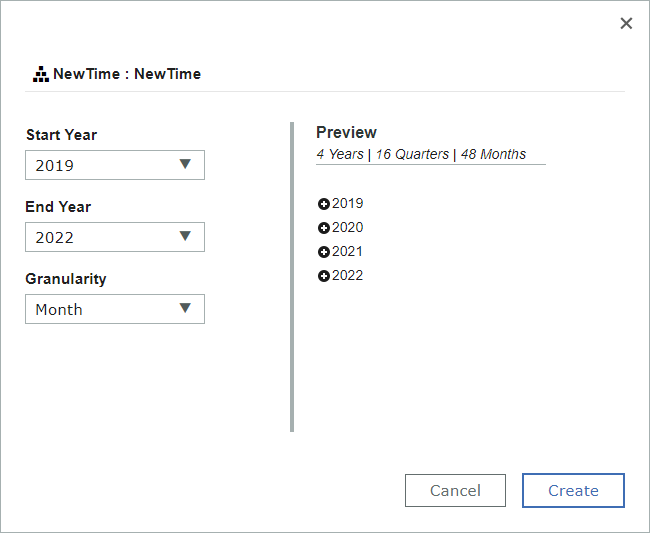
This will create a new time dimension, complete with a calendar year’s Year/Quarter/Month hierarchy and a standard set of attributes.
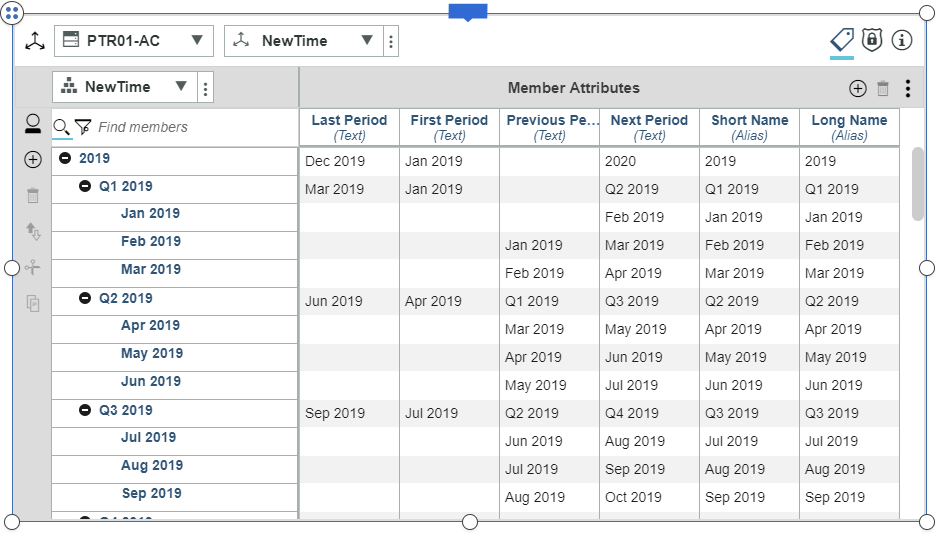
Once created, you can add or modify these attributes based on your reporting and analytics needs. Stay tuned for more entries covering more features and the other modeling widgets.
IBM Planning Analytics is full of new features and functionality. Not sure where to start? Our team here at Revelwood can help. Contact us for more information at info@revelwood.com. And stay tuned for more Planning Analytics Tips & Tricks weekly in our Knowledge Center and in upcoming newsletters!
Learn more IBM Planning Analytics Tips & Tricks:
IBM Planning Analytics Tips & Tricks: Creating Selectors in Planning Analytics Workspace
IBM Planning Analytics Tips & Tricks: Creating Buttons in Planning Analytics Workspace
IBM Planning Analytics Tips & Tricks: Synchronizing Selectors in Planning Analytics Workspace

