This week’s Workday Adaptive Planning and Reporting Tip & Trick pertains a new feature in OfficeConnect introduced into the application in Workday Adaptive Release 2020R2 (September 2020.) Previous to this release, clients disliked the fact that to “drilldown” to detail accounts, or to have the option to, required extra lines of detail to be added to a report, and hidden until requested. The step was frowned upon as an unusual design flaw — with a valid, yet clumsy work-around. Well, lo-and-behold, Workday Adaptive listened! Release 2020R2 not only addressed the issue, but “expanded” (pun intended!) upon it.
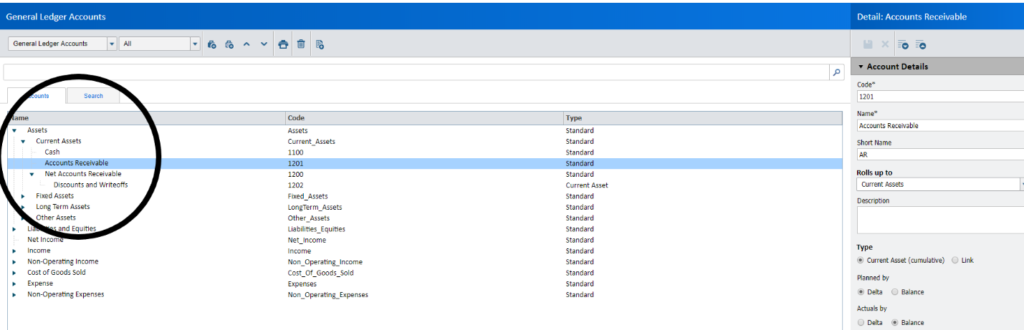
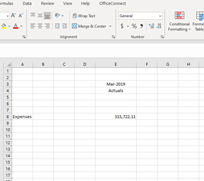
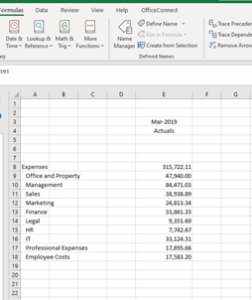
In the following screen capture, Expenses are retrieved in row 8, and Actual March 2019 data is displayed in column E. Prior to release 2020R2, users would be required to add any further “drilldown” detail Expense categories into the report and hide them until requested to be displayed. There is one value displayed in cell E8 below.
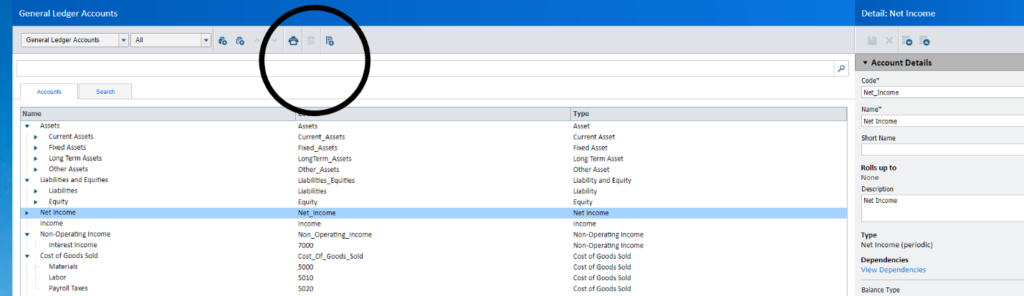
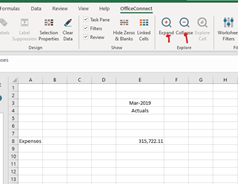
The new feature is available when there are expandable/collapsible lines (or columns) on the report and the options become available in the OfficeConnect ribbon (highlighted with the red arrow in the following screen capture.):
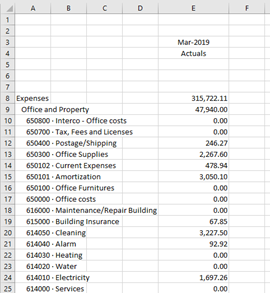
Clicking the Expand (+) option while Row 8 Expenses is highlighted results in the Expense Row 8 self-expanding and displaying the Expense categories with their amounts, instantly. OfficeConnect refreshes upon selection as follows:
What makes the new feature even more exciting is that the expansion can continue as follows – in the example below I further expand the Office and Property line now displayed on line 9 (at the start of the example only line 8 displayed the Expense amount in column E.
The Collapse option does exactly as titled- collapses the expanded selection.
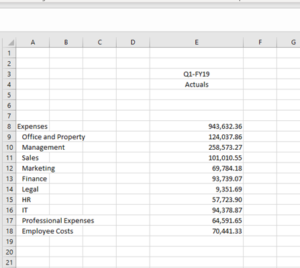
What makes the new feature even more beneficial is that not only the rows can be expanded. In the following screen capture, I replaced the March 2019 time element with Q1-FY19.
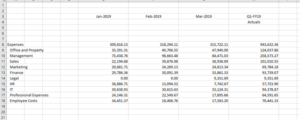
Expanding the Column E results in the 3 months of Q! 2019 to be displayed in their own columns, to the left of the still-displayed Q1 Quarter total.
In summary, after many years of having to employ a clumsy work-around to “drill-down” and display detail on the main OfficeConnect sheet, Workday Adaptive listened and developed the “perfect” solution, in my humble opinion!
The team at Revelwood has been recognized by Workday Adaptive Planning for our thought leadership in the space, commitment to our Workday Adaptive Planning practice, and our rapid achievements of milestones. Visit Revelwood’s Knowledge Center for our Workday Adaptive Planning Tips & Tricks or sign up here to get our Workday Adaptive Planning Tips & Tricks delivered directly to your inbox. Not sure where to start with Workday Adaptive Planning? Our team here at Revelwood can help! Contact us info@revelwood.com for more information.
Read more Workday Adaptive Planning Tips & Tricks:
Workday Adaptive Planning Tips & Tricks: Templates
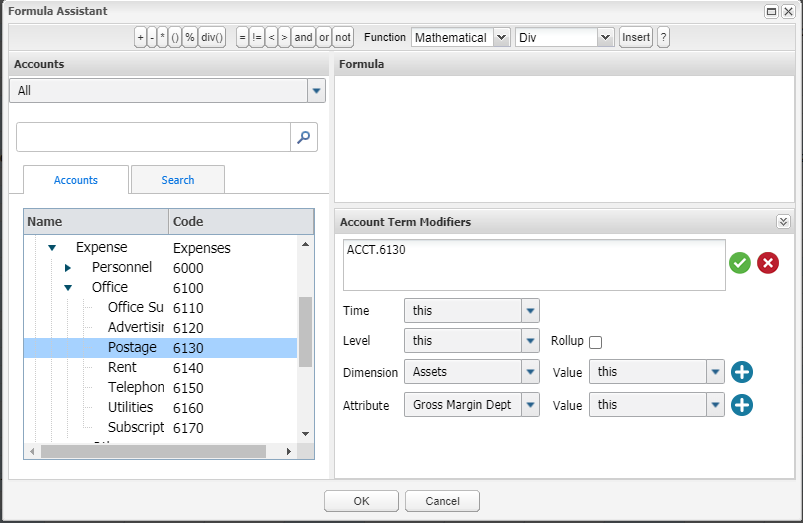
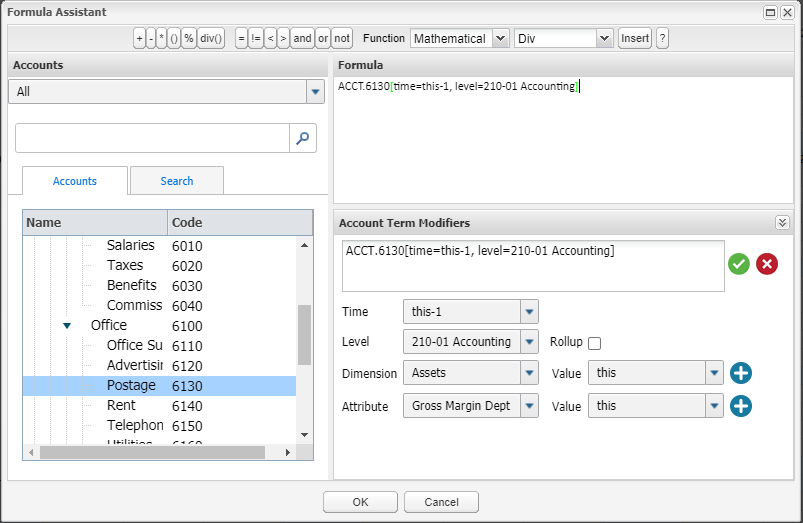
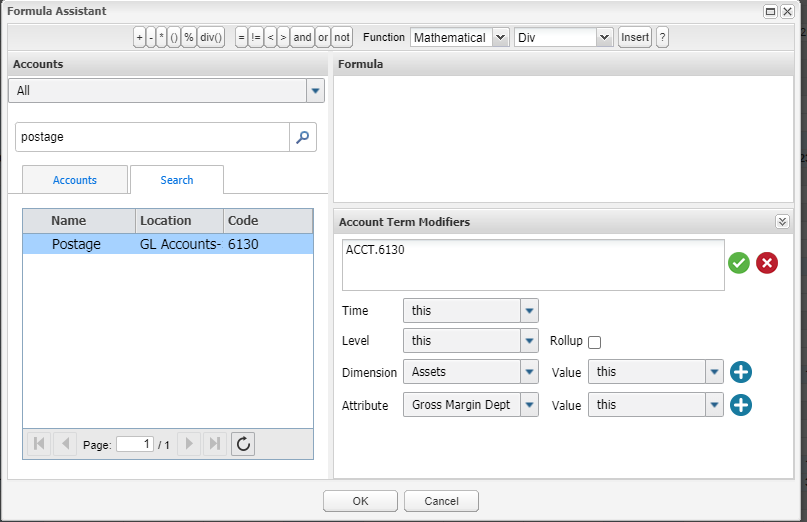
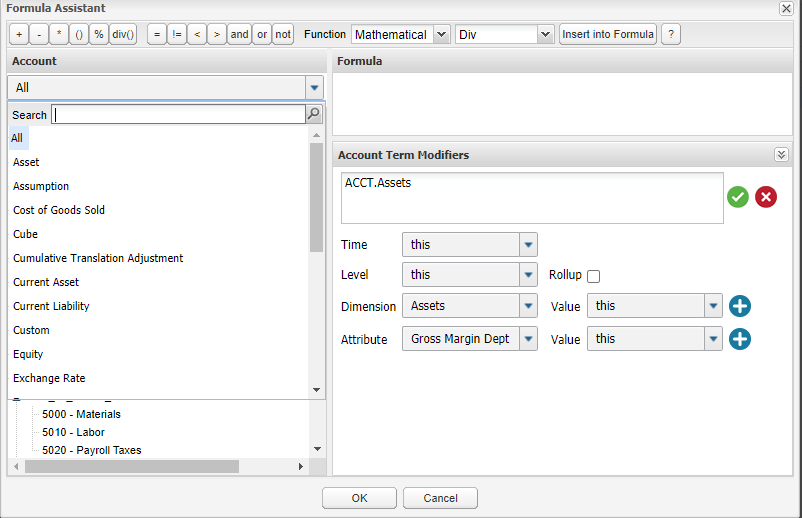
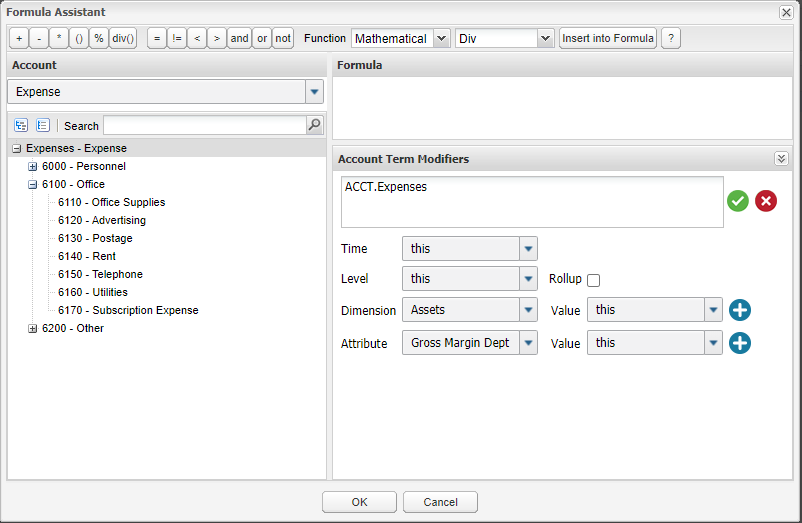
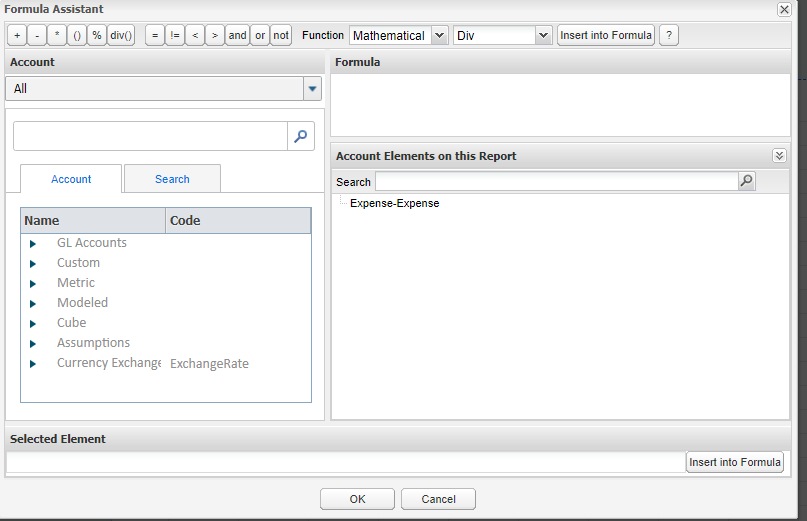
Workday Adaptive Planning Tips & Tricks: The Formula Assistant
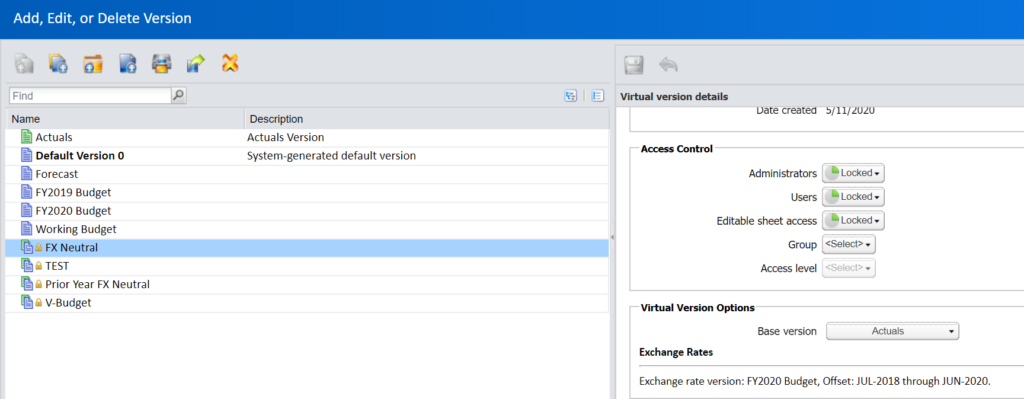
Workday Adaptive Planning tips & Tricks: Virtual Versions and Neutral Exchange Rate